

Kirix Strata Installation Guide
Kirix Strata is very easy to install. It only takes a few minutes from the time you download to the time you can start working with your data. Below are the steps you can use to install the software:
1. Download the software from the Kirix website. Once the download is completed, the setup file will appear on your computer.
2. Locate the setup file icon and double-click it to begin the installation process. A installation wizard will appear.
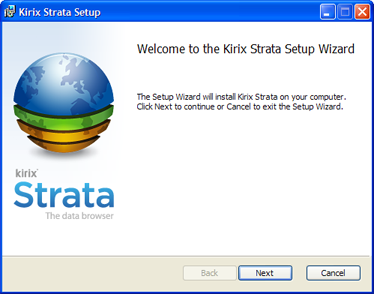
3. Click next to begin the installation process.
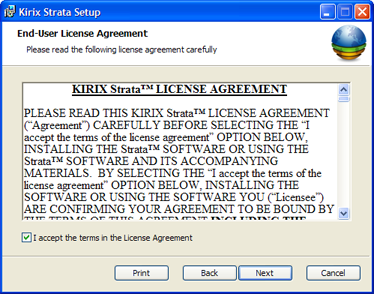
4. Please read the end-user license agreement. If you agree to the terms, add a check to the checkbox on the bottom-left side entitled "I accept the terms in the License Agreement" and then click Next.
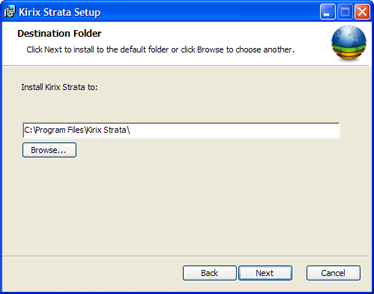
5. Choose which directory you would like to install into. Normally, application files are stored in the program files directory by default if you are running Windows. If you'd like to choose an alternate location, click the Browse button and select your location preference. When you are finished, click Next.
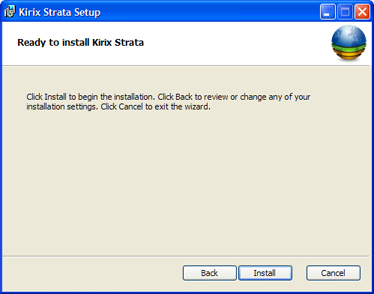
6. You are now ready to actually install the software. Click Install to continue.

7. The installation will begin. It should only take a few minutes to complete.
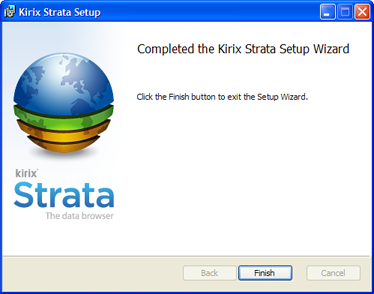
8. Once the installation is complete, click Finish to close the installation wizard.
A Strata icon will appear on your desktop. Double-click the icon to open the software. Alternatively, you can select the Kirix Strata item from your program files to open the software. If you have purchased a license from the online store and wish to activate it, please see the instructions for Activating you Kirix Strata License.